From soft to hard
The new HMV-G microhardness tester
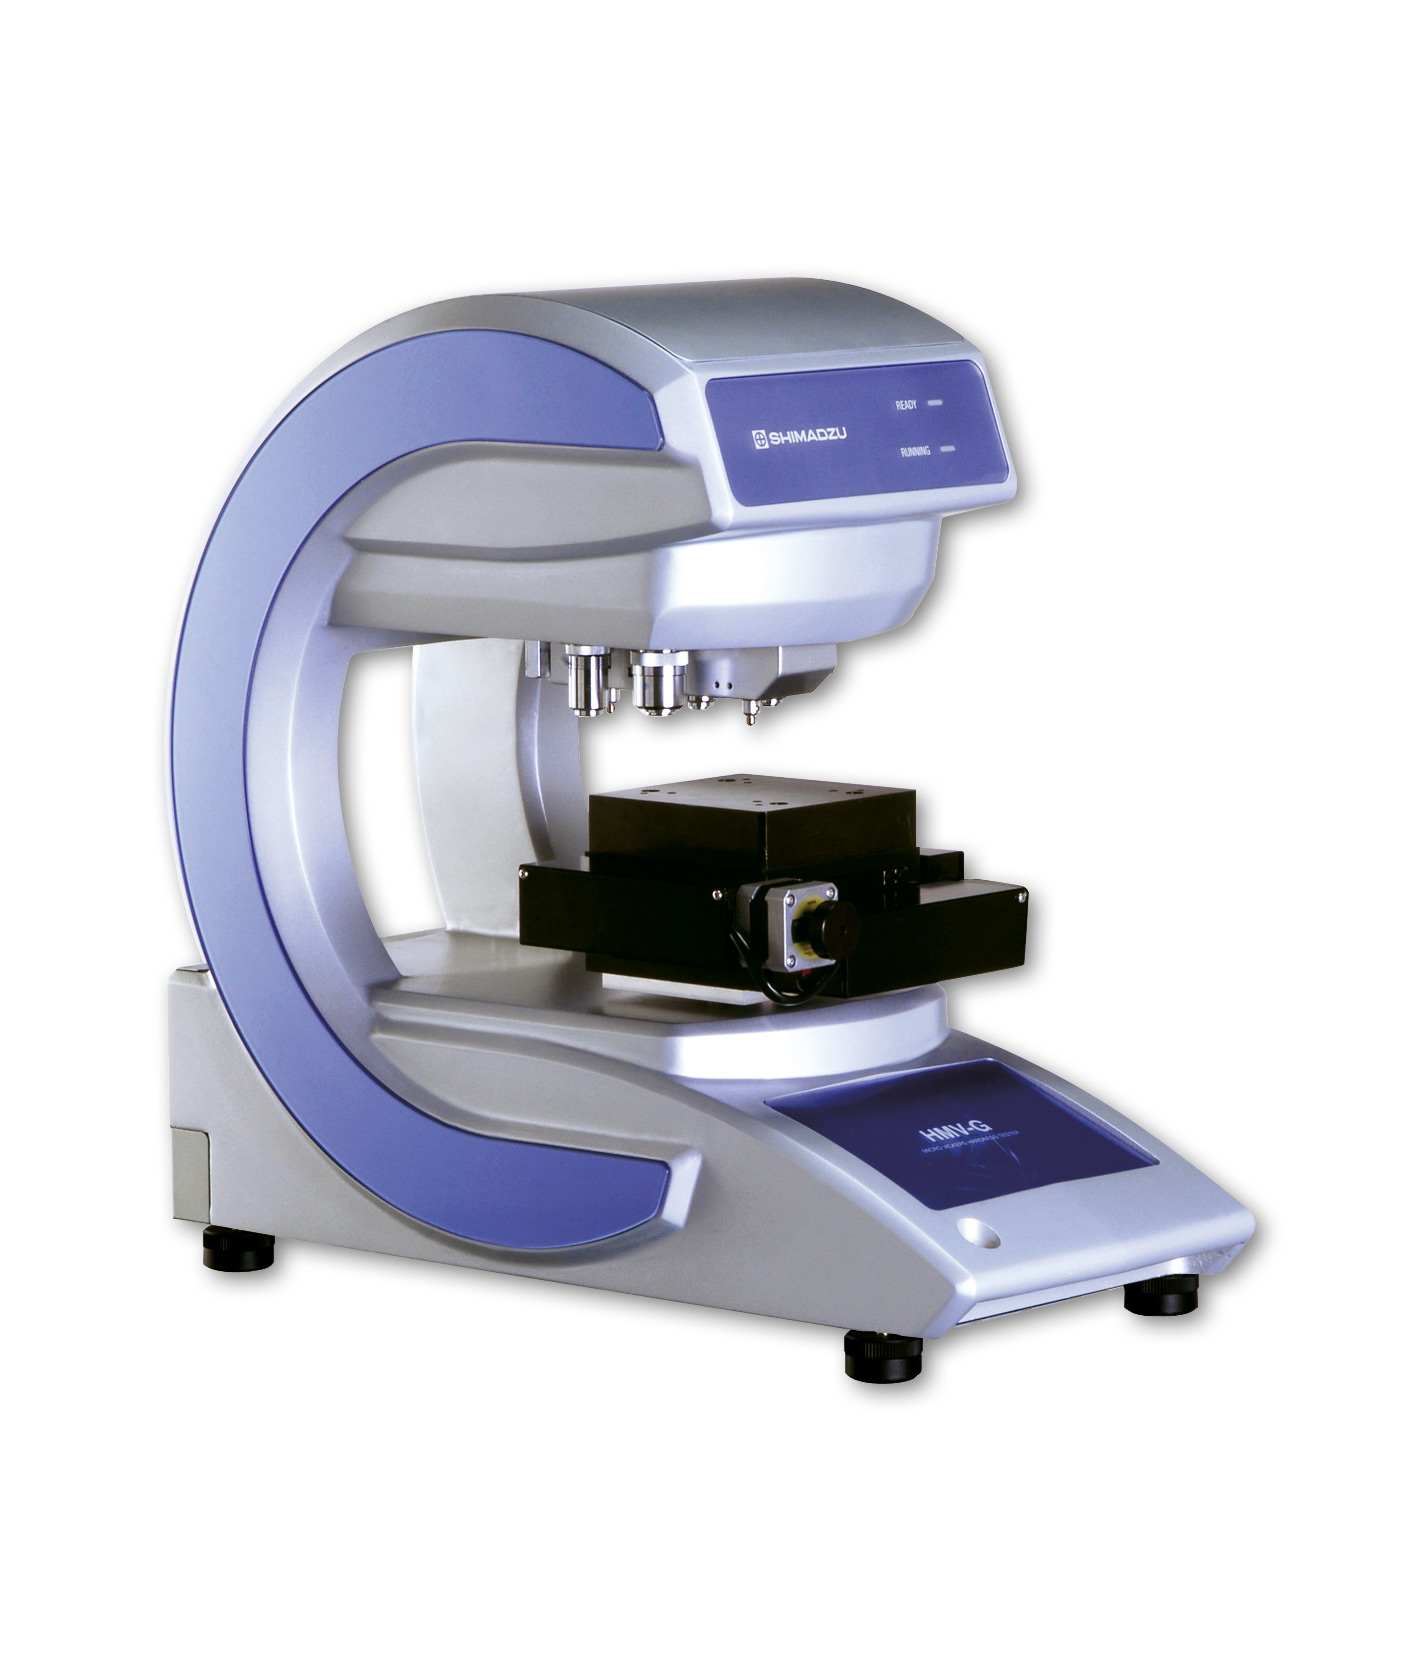
 Figure 1: Micro Vickers hardness tester HMV-G
When thinking of microhardness testing, the determination of structural constituents of hard metallic or ceramic samples usually comes to mind. Studies on crystal segregation, hardness distribution of nitrited layers and welded joints as well as systematic hardness testing of new materials form the majority of areas of application. However, the number of measurements requiring particularly small test forces increases rapidly with fast advances in lightweight construction.
The completely redesigned HMV-series hardness tester uniting all required features in one instrument takes this development into account.
The HMV-G models feature a vast test force range from the conventional microhardness range of 0.098 N up to 1.96 N down to the small load hardness range to 19.61 N. In addition, the HMV-G can push forward into the ultra-microhardness range and can apply forces of merely 9.81 milli-Newton to 49.04 milli-Newton for measurement. In this way, it is possible to examine very hard materials as well as thin layers such as metal foils used in the manufacture of solar cells.
Twelve load ranges
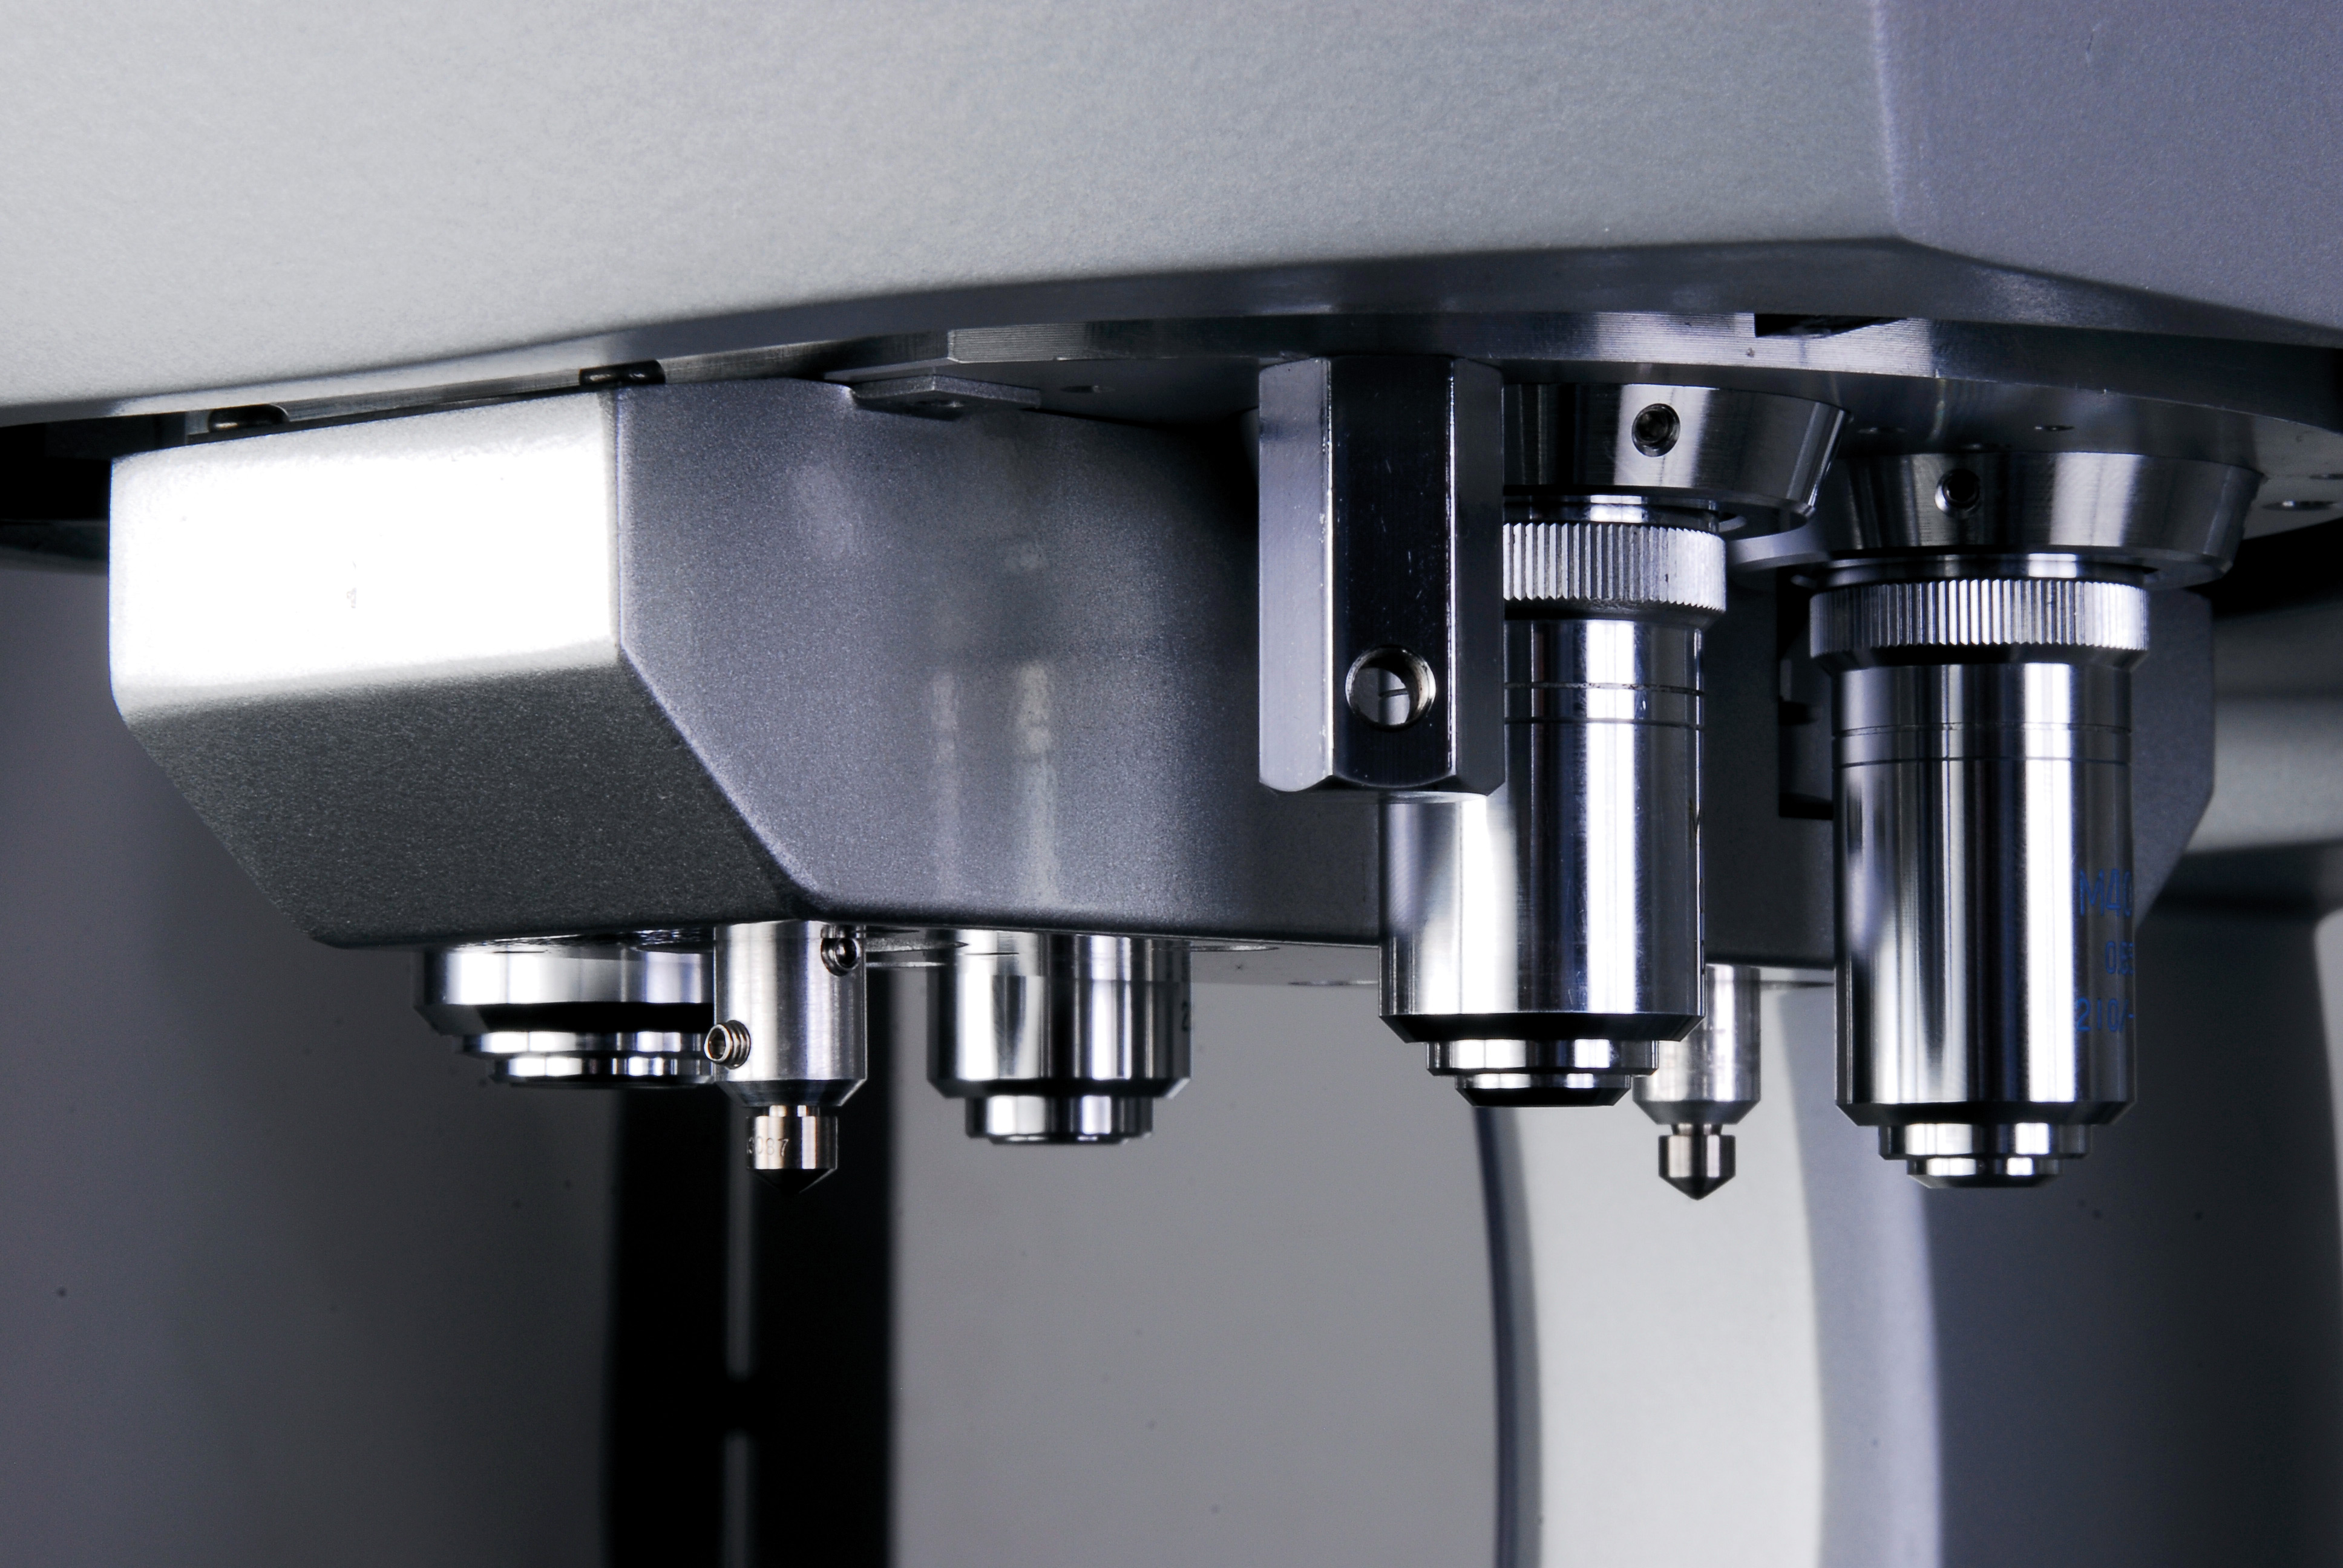
 Figure 2: Multi turret function with up to two indenters and four abjective lenses
Up to twelve load ranges from HV0.001 to HV2 are supported. Thanks to the force-compensated design, up to four additional load ranges can be freely defined, which can be very useful in the measurement of borderline cases. In addition, a motor-driven turret enables easy switching to another objective lens without the need to repeat testing if a too high or too low load range was selected.
Overall, emphasis has been placed on flexible and convenient operation during the development of the new HMG-V. The G-shaped frame increases the sample compartment considerably, enabling straightforward measurement of large-volume samples or components. The measurement turret is available in two versions, with the possibility to mount up to two indenters as well as four objective lenses simultaneously.
Three series for various applications
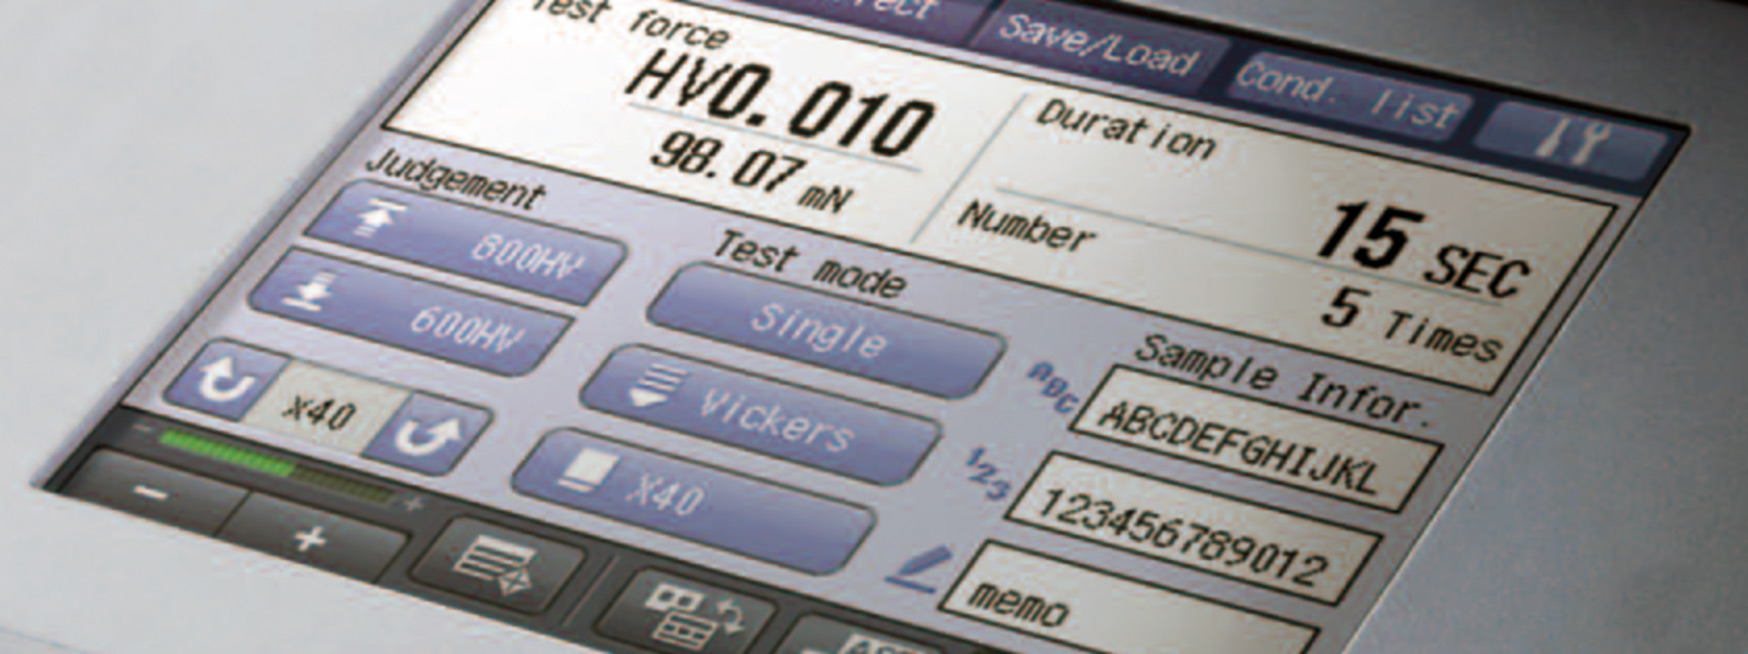
 Figure 3: Big alphanumeric LCD touch panel
Three series are available depending on the application need:
- the manual version, suitable for training purposes as well as for high-precision measurement for small measurement tasks in research
- the camera and PC-controlled version for more complex and intensive measurement activities measuring indentation automatically
- the fully automated version for large measurement series and regular hardness distribution, with autofocus feature and an automated stage.
The fully automated HMV-G-FA hardness tester with its multitude of functions offers maximum convenience and performance with minimal work complexity.
Dedicated support functions
Using the integrated ‘stage viewer’ function, the entire stage is available for sample observation. An ‘edge detector’ recognizes sample geometries and generates simplified representations on the monitor. With the optimal imaging, even real samples with scratches or light or dark backgrounds can be determined automatically without the need for complex sample preparation such as polishing. The measurement series are then carried out by simply clicking the start and end points or by selecting individual points.
These support functions together with the excellent measuring and precision properties of the new HMV-G series also enable less experienced users to obtain fast measurement results. True to the motto ‘Everybody can become an expert’.