20 million
images per
second –
built on 20 years
of innovation
From the HPV-1 to the HPV-X3: Ultra-fast insights into matter, biology and energy
Dr. Johannes Hesper, Shimadzu Europa GmbH

How do atoms move during a chemical reaction? What structures are concealed within viruses? And how does matter behave under extreme conditions, such as those found only in stars or planets? At the European XFEL, the fastest and otherwise invisible processes are brought into the light. The research facility near Hamburg, home to the world’s largest X-ray laser, provides ultra-short, high-intensity X-ray flashes – a tool unlocking entirely new opportunities for science and industry. Here, researchers are developing methods to enable and capture these insights – supported by HPV-X2 cameras from Shimadzu, among other things.
Taking ultra-high speed to a new level
Shimadzu’s HyperVision HPV-1 transformed the world of high-speed imaging in 2005, marking the beginning of a new era in image capture. With its groundbreaking IS-CCD sensor (in-site storage image sensor), this camera was able to capture an astonishing 1 million frames per second at a resolution of around 81,000 pixels. This remarkable achievement allowed scientists and engineers, for the first time, to see ultra-fast phenomena that were previously invisible, unlocking new opportunities – from materials science to biomedicine.
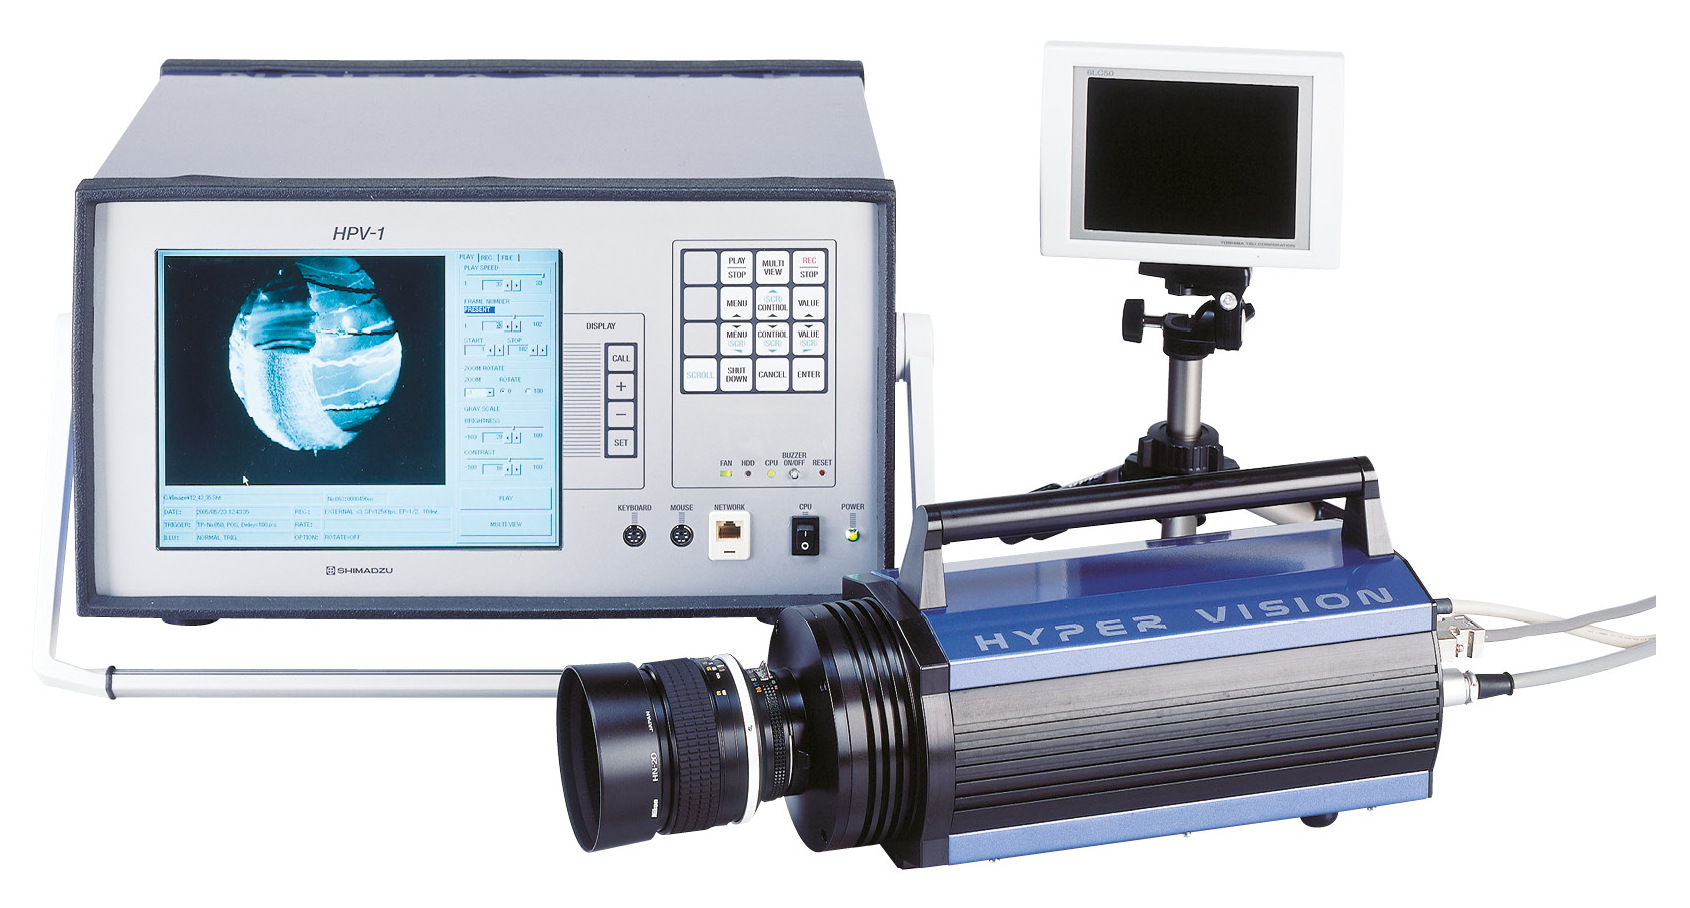
Celebrated for its technical innovation, the HPV-1 went on to receive multiple awards. In the year it was launched, it earned the “Best 10 New Products Award” from Nikkan Kogyo Shimbun Ltd., and in 2006 it was honored with an “R&D 100 Award,” which recognizes the world’s most exceptional technological innovations. It was the world’s first ultra-high-speed camera capable of capturing video at an unprecedented speed of 1,000,000 frames per second. These awards highlight the profound impact of the HPV-1 on both industrial development and scientific research.
The HPV series – pushing ultra-high speed one step further
In 2008, Shimadzu introduced the next-generation HPV-2. It offered the same impressive recording speeds as its predecessor, with the added benefits of a lighter, more user-friendly design. The ability to operate in synchronization with up to four cameras facilitated three-dimensional analysis of complex phenomena and advanced research across many scientific fields.
In 2012, the HPV-X series raised the bar: Delivering up to 10 million frames per second – ten times faster than before – the newly developed FTCMOS sensor (Frame Transfer CMOS) provided enhanced image quality and versatile recording modes for all kinds of experiments. For the first time ever, it was possible to capture 256 frames. These cameras played a vital role in the development of new materials and the study of ultra-fast physical processes.
Just a few years later, the next evolution arrived: the HPV-X2. With the upgraded FTCMOS2 chip, it achieved six times greater light sensitivity without sacrificing the recording speed of the HPV-X. This made low-light experiments possible for the first time – even with ultra-short exposure times of only 50 nanoseconds.

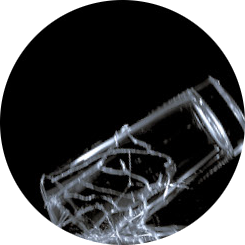
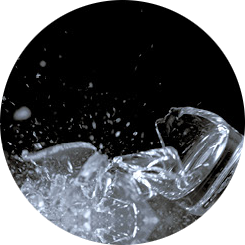
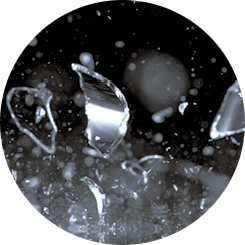

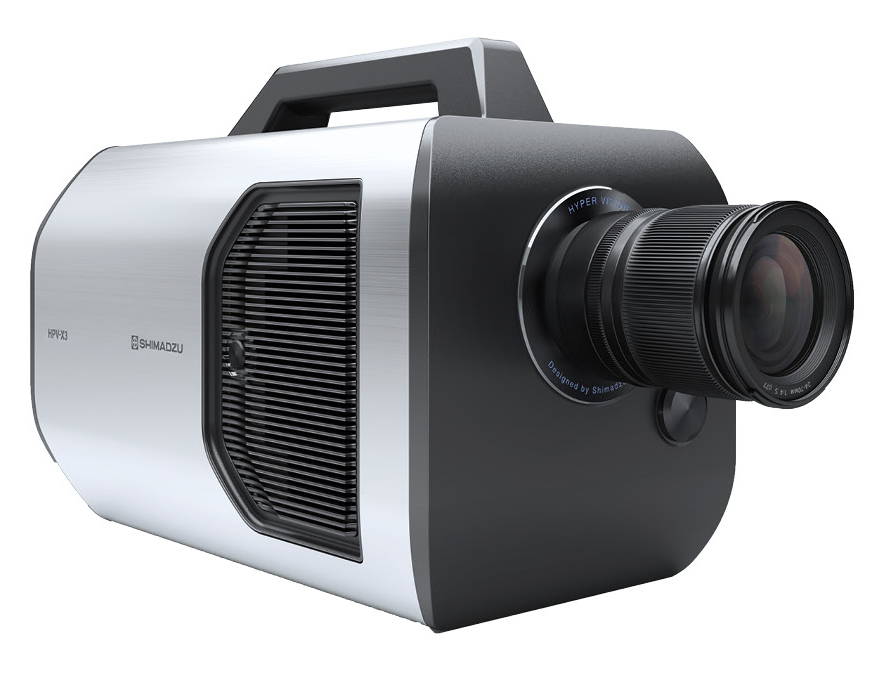
What sets the HPV-X3 apart from other high-speed cameras is its cutting-edge memory and processing architecture. While other high-speed cameras must store frames on an external drive during recording, often compromising speed or resolution, the HPV-X3 reads the image data from the FTCMOS chip only after the experiment. This enables faster, more efficient processing and is especially advantageous in complex experiments where precise timing is critical.
High speed for science and technology
In addition to research facilities like the European XFEL, ultra-high-speed cameras are used in many other areas of science and technology, particularly in materials research and biomedicine. In materials research, they make it possible to study how materials respond to extreme forces. An impressive example is the study of carbon-fiber reinforced polymers (CFRP): As the samples are stretched, the precise instant of material failure is captured in real time. Studying how cracks develop provides valuable insights into the strength and durability of these materials – crucial for aerospace engineering.
HPV-X3 – the latest generation with 20 millionframes per second
Introduced in 2025, the HPV-X3 doubles the recording speed to an extraordinary 20 million fps and triples the resolution to 300,000 pixels – no matter the speed. This allows researchers to observe the finest details of ultra-fast processes and gain new insights across numerous fields of study. Utilizing external time synchronization signals also significantly improves data acquisition efficiency.
Making the invisible ultra-fast visible
The continuous evolution of the HPV series demonstrates the importance of ultra-high-speed cameras for science and technology. From the pioneering HPV-1 to the latest HPV-X3, Shimadzu has always led the way in technological innovation. By capturing microscopic, ultra-fast phenomena, these cameras deliver priceless insights for research and open the door to practical applications across a wide range of fields. The HPV-X3, with its unparalleled capability of capturing up to 20 million frames per second, highlights the critical importance of precise observation and analysis of the dynamic world around us today. Be it aerospace, materials research or microscopic cavitation – anything less just can’t keep up!
